Introduction
Have you ever felt overwhelmed or stuck while trying to build a modern web app? You’re not alone. Many developers-beginners and experienced alike-struggle with where to start, what tools to use, and how to keep their projects organized and efficient. The truth is, creating a React application can seem daunting at first, especially with so many moving parts and best practices to consider.
But here’s the good news: you don’t have to figure it out alone. We understand how confusing it can be, and that’s why we’re here to help. In this blog, we’ll explore the essential steps for creating a React application that’s not just functional but also seamless, scalable, and enjoyable to build. You’ll learn how to set up your environment, structure your project, manage your code, and launch your app with confidence.
So, if you’re ready to leave confusion behind and build your next project the right way, let’s dive in together. With expert guidance from Technocomet Solutions, navigating the React ecosystem becomes much easier. By the end of this guide, you’ll have a clear roadmap for creating a React application—and you’ll feel empowered to bring your ideas to life! Don’t let uncertainty slow you down—partner with a team that knows how to bring your vision to life.
✨ Step 1: Set Up Your Development Environment the Right Way
✅ Install Node.js and npm — your React project’s best friends
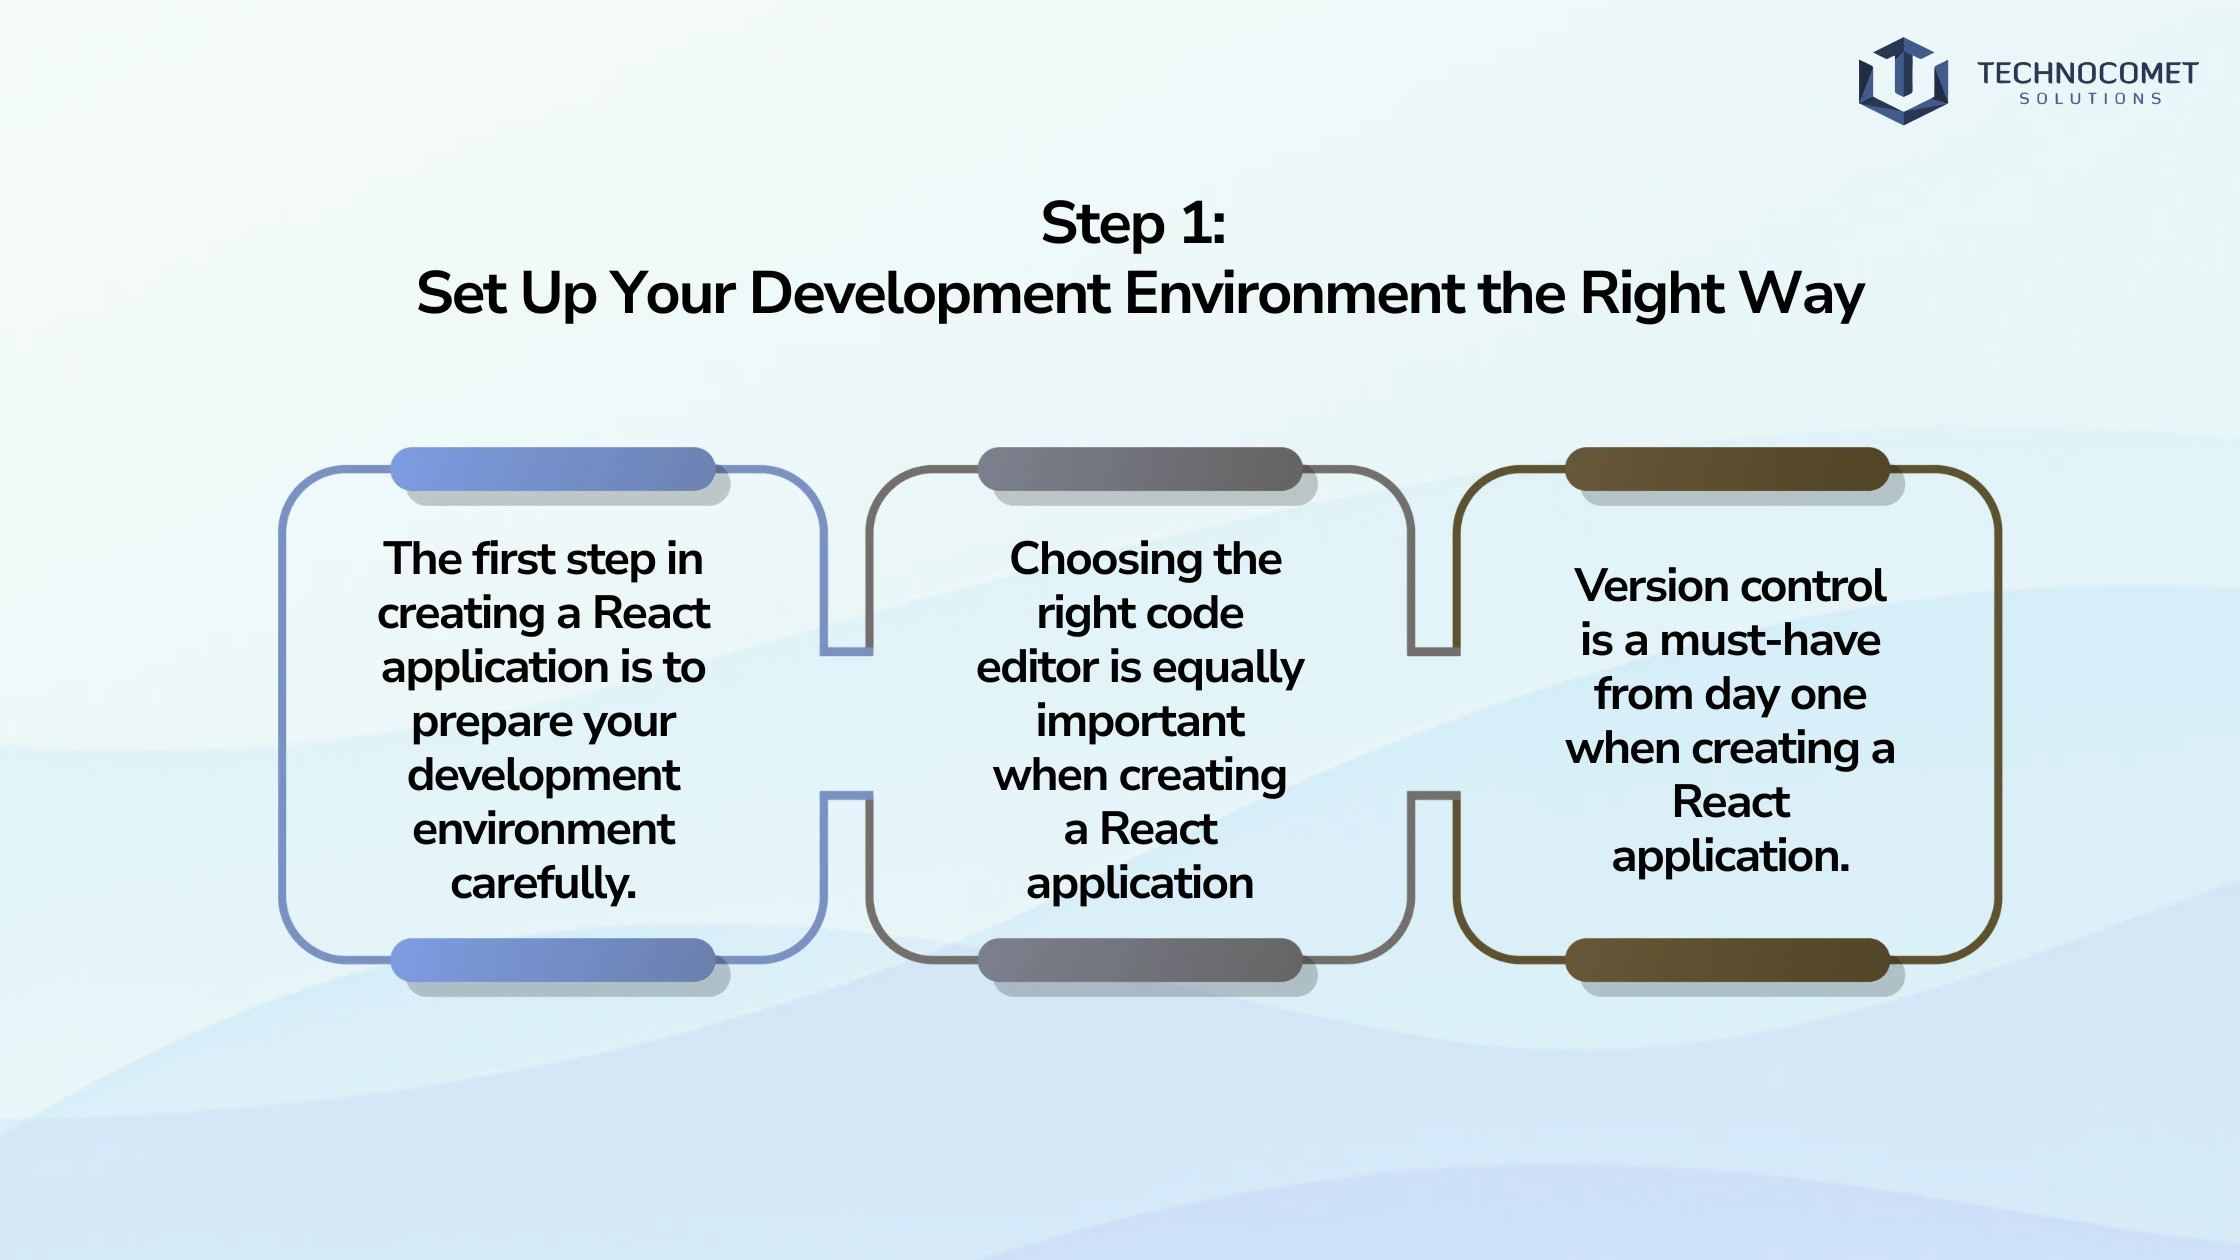
The first step in creating a React application is to prepare your development environment carefully. This foundation sets the tone for the entire project. Begin by installing Node.js and npm, which are essential tools that power the React ecosystem. Node.js allows you to run JavaScript outside the browser, and npm helps you manage the libraries and packages your application will depend on. Keeping these tools updated ensures compatibility with the latest React features and third-party libraries, which can improve security, performance, and SEO.
✅ Choose your code editor (hint: VS Code is a top pick!)
- Visual Studio Code (VS Code) stands out as a top pick because of its speed, ease of use, and extensive plugin ecosystem customized for React development.
- Features like syntax highlighting, debugging, an integrated terminal, and Git integration make your coding experience smoother and more productive.
- Additionally, VS Code’s marketplace offers extensions specifically designed for React, such as snippets, ESLint integration, and Prettier for code formatting, which help maintain code quality and consistency-important factors for SEO-friendly React apps.
✅ Set up version control with Git from the beginning
Version control is a must-have from day one when creating a React application. Setting up Git ensures that every change you make is tracked, making collaboration easier and reducing the risk of losing work. It also allows you to experiment fearlessly, knowing you can always revert to a previous state. Using platforms like GitHub or GitLab provides additional benefits like issue tracking, pull requests, and continuous integration, which are invaluable for team projects and maintaining a clean codebase.
💡Pro Tip:
Organize your project folders early by creating separate directories for components, assets, and hooks. This practice keeps your project clean and scalable, making it easier to find and maintain code as your React application grows.
✨ Step 2: Initialize Your React App Using Create React App (CRA)
✅ Use the CRA CLI for a boilerplate that saves hours
When creating a React application, using Create React App (CRA) is the fastest way to get started. CRA is a command-line tool that sets up a fully functional React project with sensible defaults, saving you hours of manual configuration. It abstracts away complex build setups like Webpack and Babel, allowing you to focus on writing your application code. This is especially helpful for beginners or teams that want to standardize their setup and optimize for SEO from the start.
✅ Understand the folder structure and what each file does
Understanding the folder structure CRA provides is crucial when creating a React application. It organizes your files in a way that promotes best practices, separating your source code, public assets, and configuration files. Familiarizing yourself with this structure early on will help you navigate and expand your project more effectively. For example, the src folder contains your JavaScript and CSS files, while the public folder holds static assets like images and the HTML template. Knowing where to place files ensures your app remains organized and efficient, which can positively impact SEO by improving load speed and crawlability.
✅ Run your first dev server and see React in action
Running your first development server and seeing React in action is an exciting milestone when creating a React application. It provides immediate feedback and allows you to iterate quickly, which is one of the reasons React is so popular among developers. The live-reloading feature means your changes appear instantly in the browser, speeding up the development cycle and making experimentation easy.
💡 Pro Tip:
Right after initialization, remove any unnecessary files that CRA includes by default. This keeps your project clean and prevents confusion, helping you focus on building your unique features rather than managing boilerplate.
✨ Step 3: Organize Your File and Folder Structure Like a Pro
✅ Group related components and features into folders
As you continue creating a React application, a well-organized file and folder structure becomes vital. Group related components and features into their own folders rather than dumping everything into a single directory. This modular approach improves maintainability and makes your codebase easier to understand. It also encourages separation of concerns, where each feature or module is self-contained, reducing dependencies and making testing simpler. This organization supports SEO by enabling faster builds and better caching.
Here are some best practices for organizing your folders when creating a React application:
- Group components by feature or domain rather than by type.
- Separate reusable components from feature-specific ones.
- Create dedicated folders for assets like images and fonts.
- Store utility functions and custom hooks in their own directories.
- Maintain consistent naming conventions (e.g., PascalCase for components).
✅ Set naming conventions for consistency
Consistent naming conventions across files and folders are key to avoiding confusion when creating a React application. For example, using PascalCase for component files and camelCase for hooks helps differentiate the types of files at a glance. Naming conventions also improve readability and make it easier to search for files in large projects. Establishing these rules early ensures uniformity across your team and project lifespan, which contributes to a more maintainable and SEO-friendly codebase.
✅ Manage assets, utilities, and reusable functions smartly
Managing assets, utilities, and reusable functions in dedicated folders further enhances clarity when creating a React application. Keeping these resources separate from your components ensures that your project remains organized and scalable. For instance, utility functions can be placed in a utils folder and images or icons in an assets folder. This separation helps prevent clutter and makes it easier to update or replace resources without affecting unrelated parts of your app, improving performance and SEO.
💡 Pro Tip:
For larger applications, adopt a “feature-based” folder structure. This means grouping all files related to a specific feature or module together, which scales better as your app grows and makes onboarding new developers much smoother.
✨ Step 4: Build Reusable Components and Smart State Management
✅ Learn how to break your UI into reusable React components
One of the core philosophies behind creating a React application is component reusability. Breaking your UI into small, reusable components not only reduces duplication but also makes your app easier to maintain and extend. Think of each component as a building block that you can assemble like Lego pieces. This approach encourages consistency in design and behavior, as shared components can enforce uniform styles and interaction patterns across your app, which improves user experience and SEO metrics like engagement.
When building reusable components, keep these tips in mind:
- Design components to be as independent and self-contained as possible.
- Use props to pass data and callbacks to manage interactions.
- Avoid hardcoding styles or behaviors; make components configurable.
- Document components well to encourage reuse across your team.
✅ Manage state using React’s useState and useContext APIs
Managing state effectively is another cornerstone of creating a React application. React’s built-in hooks, like useState and useContext, allow you to handle local and simple global state efficiently. These tools are perfect for most small- to medium-sized applications. Proper state management ensures your UI stays in sync with your data and user interactions, providing a smooth user experience, which search engines reward with better rankings.
✅ Decide when to bring in Redux or other advanced state tools
When your app’s complexity increases, you might need to bring in more advanced state management libraries like Redux or MobX. However, it’s important to start simple and only add these tools when necessary to avoid overcomplicating your codebase. Overusing complex state management can introduce unnecessary boilerplate and make debugging harder, which can indirectly harm your SEO by increasing development time and bugs.
💡 Pro Tip:
Begin with React’s native state management and only introduce advanced solutions as your application grows. This approach keeps your code clean and reduces unnecessary complexity during the early stages of creating a React application.
✨ Step 5: Style Your React App with Modern CSS Techniques
✅ Choose your styling method: CSS Modules, styled-components, or Tailwind
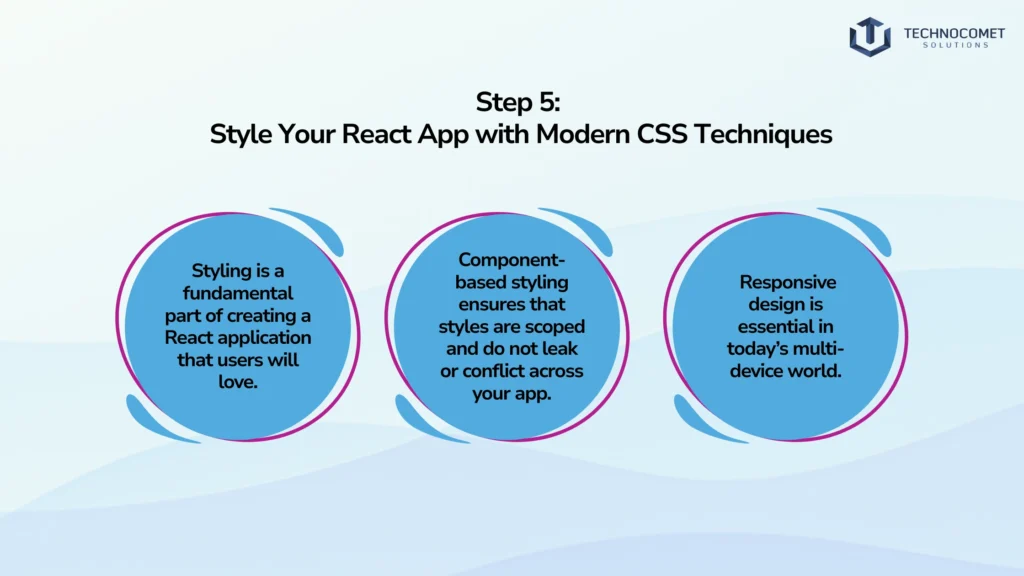
Styling is a fundamental part of creating a React application that users will love. Choosing the right styling method can make your app easier to maintain and more visually consistent. Popular options include CSS Modules, styled-components, and utility-first frameworks like Tailwind CSS. Each method has its strengths: CSS Modules provide scoped styles, styled-components allow dynamic styling with JavaScript, and Tailwind offers rapid UI development with utility classes. Well-styled apps tend to keep users engaged longer, which positively affects SEO.
✅ Keep styling scalable and component-based
Component-based styling ensures that styles are scoped and do not leak or conflict across your app. This modular approach aligns perfectly with React’s component architecture, making your styles easier to manage and update. It also helps avoid common CSS issues like specificity conflicts and global namespace pollution, which can cause rendering problems and hurt SEO indirectly.
✅ Ensure responsive design across all devices
Responsive design is essential in today’s multi-device world. Ensuring your app looks great on phones, tablets, and desktops enhances usability and accessibility. Using flexible layouts, media queries, and scalable units helps your app adapt smoothly to different screen sizes and orientations, improving your search rankings since Google prioritizes mobile-friendly sites.
💡 Pro Tip:
Use a design system or UI library like Material UI to speed up development and maintain a consistent look and feel. These libraries offer pre-built components and design guidelines that can save you significant time and help maintain visual consistency, especially in larger projects or teams focused on creating a React application.
✨ Step 6: Test, Optimize, and Deploy Like a Boss
✅ Test your app with tools like React Testing Library and Jest
Testing is a critical part of creating a React application that users can trust. Tools like React Testing Library and Jest enable you to write tests that verify your components behave as expected, catch bugs early, and prevent regressions. Writing tests also improves your confidence when refactoring or adding new features, making your development process more reliable and your app more SEO-friendly by reducing errors that could affect user experience.
✅ Optimize performance with lazy loading and code splitting
Performance optimization ensures your app remains fast and responsive. Techniques such as lazy loading and code splitting help reduce the initial load time by loading only what’s necessary. Memoization and other React performance patterns help avoid unnecessary re-renders, which can slow down your app. Optimizing images, minimizing bundle size, and using efficient data-fetching strategies also contribute to a smooth user experience, which search engines reward with higher rankings.
✅ Deploy using platforms like Vercel, Netlify, or GitHub Pages
Deploying your React app is easier than ever with platforms like Vercel, Netlify, and GitHub Pages. These services offer seamless integration with your code repository, automated builds, and global content delivery, ensuring your users get the best experience. They also provide useful features like preview deployments and rollbacks, which simplify your release process and help maintain uptime-both important for SEO.
💡 Pro Tip:
Before deployment, run Lighthouse audits to identify performance bottlenecks, accessibility issues, and best practice violations. This helps you deliver a polished, professional application that meets modern standards and provides a great user experience, ultimately boosting your React app’s search engine rankings.
✅ Understanding the Fundamentals of Quantum Computing:
Conclusion
Creating a React application involves more than just writing code. By following these six key steps-setting up your environment, initializing your app with CRA, organizing your files, building reusable components with smart state management, styling with modern CSS techniques, and finally testing, optimizing, and deploying-you’ll build cleaner, faster, and more maintainable applications. This structured approach reduces technical debt and makes your app easier to scale and evolve over time while also enhancing SEO performance.
These best practices not only improve your app’s performance but also make your development process smoother and more enjoyable. Whether you’re a beginner or an experienced developer, adopting these strategies will help you deliver high-quality React applications every time. Remember, the journey of creating a React application is continuous, and investing in solid foundations pays off in the long run.
Need expert help with your React project? TechnoComet Solutions is here to guide your development journey from start to finish. Let’s build something amazing together and bring your vision to life with confidence, quality, and SEO success.
Reach out to TechnoComet Solutions today! 🚀💡📌
FAQs
The process of creating a React application typically starts with setting up your development environment by installing Node.js and npm, choosing a code editor like VS Code, and initializing your project using Create React App. This foundation ensures your project is organized and ready for scalable development.
A well-structured React application groups related components, assets, and utilities into dedicated folders. Many developers use a feature-based folder structure, which keeps files organized by functionality, making the app easier to maintain and scale as it grows.
Best practices include building reusable components, using functional components with hooks, managing state efficiently, and writing clean, well-documented code. Testing your components and optimizing performance are also crucial for long-term maintainability.
To optimize performance, implement techniques such as lazy loading, code splitting, and memoization. Minimizing bundle size, optimizing images, and using efficient state management can also help your React application run faster and provide a smoother user experience.
If you’re looking for professional assistance, TechnoComet Solutions offers expert web and app development services. Their team specializes in creating robust, scalable React applications customized to your business goals, ensuring your project is built right from the start.